How to Make Restaurant-Quality Japanese Rice at Home
G'day, friends! 💚
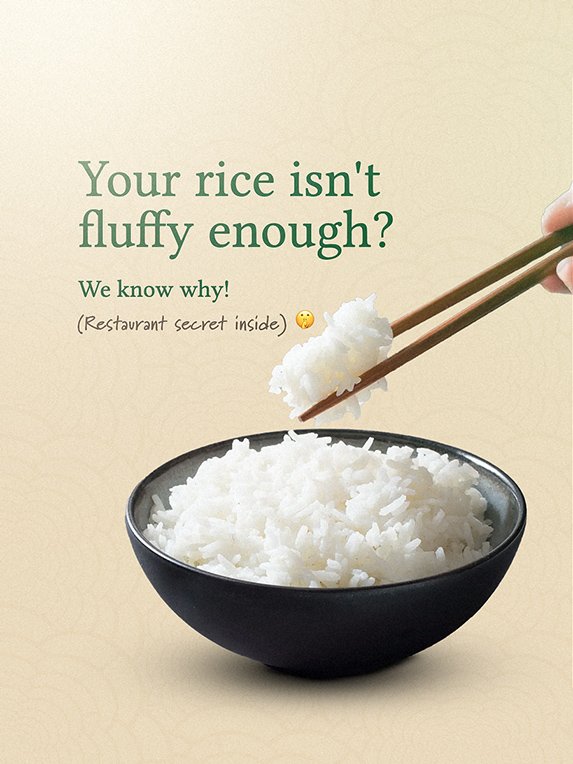
First of all, let’s talk about rice!
Specifically, we mean Japanese short-grain rice. You know the fluffy, slightly sticky, perfectly glossy stuff that restaurants serve. Consequently, you probably wonder why your homemade rice never turns out quite the same.
Here’s the truth: you don’t need a fancy rice cooker, and you don’t need a secret ingredient. Instead, you just need the right technique. Ultimately, small details add up to make all the difference.
Therefore, we’re going to walk you through it — step by step, no fluff, just what actually works.
Why Japanese Rice is Different
Before we get into technique, let’s talk about the rice itself.
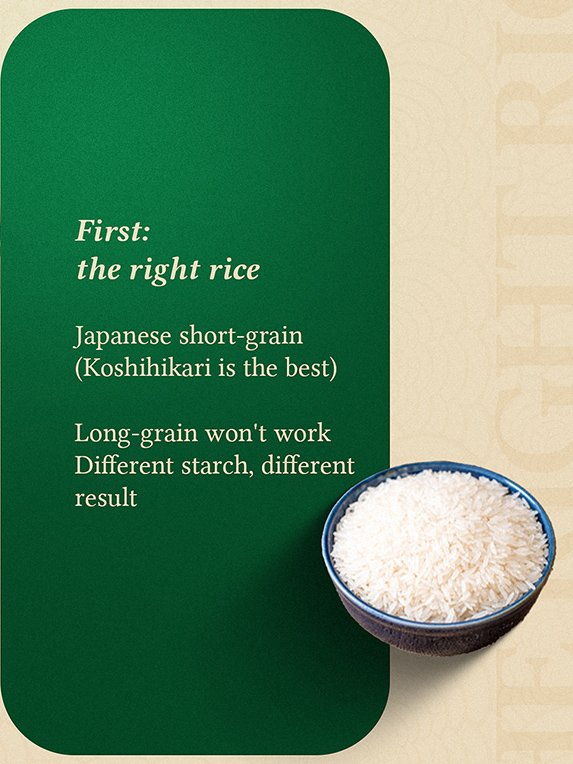
Fundamentally, Japanese rice is short-grain. It contains a higher starch content (specifically amylopectin) than long-grain varieties. As a result, this starch gives the rice its characteristic sticky texture. Actually, this isn’t a bad thing — it’s exactly what you want! That slight stickiness makes it perfect for sushi, rice bowls, onigiri, and eating with chopsticks.
However, if you use long-grain rice (like basmati or jasmine), this guide won’t help you. Different rice requires different rules. You absolutely need Japanese short-grain.
What is the best variety? Koshihikari. Japanese chefs widely consider it the gold standard — sweet, tender, with just the right amount of stickiness. You can find it at most Asian grocers, and increasingly, regular supermarkets stock it too.
But any Japanese short-grain rice will work. Just make sure the packet says “short-grain” or “sushi rice”.
Step 1: Wash It (But Not Too Much)
Here, many people make a big mistake.
You’ve probably heard that you need to wash rice until the water runs completely clear. In reality, that’s a myth. Or at least, it’s outdated advice that doesn’t apply to modern Japanese rice.
Here’s what you actually need to do:
Put your rice in a bowl and cover it with cold water.
Gently swirl it around with your hand — do not scrub, just use gentle circular motions.
The water will turn cloudy. That indicates the excess surface starch.
Drain the water and repeat 3 to 5 times. That’s it.
You don’t need crystal clear water. In fact, if you wash the rice too much, you will start breaking the grains, and consequently, you will wash away some of the nutrients and flavour.
Remember: you’re not trying to make the rice “clean” in a hygiene sense (the factory already cleaned it). You just want to remove enough surface starch so the rice doesn’t turn gluey when you cook it. Three to five rinses. Move on.
Step 2: Soak It (This is the Secret)
Right, here is the step that most people skip. And surprisingly, it’s the step that makes the biggest difference.
After you wash your rice, leave it to soak in fresh water for at least 30 minutes. Up to 2 hours is fine. Some chefs even go longer, but 30 minutes is the absolute minimum you need.
Why does this matter?
When rice soaks, the grains start to hydrate from the outside in. By the time you cook it, the moisture distributes evenly throughout each grain. Because of this, every grain cooks at the same rate — no hard centres, no mushy outsides, just consistent texture all the way through.
If you skip this step, the outside of each grain will cook faster than the inside. You will end up with rice that’s overcooked on the outside and undercooked in the middle. Or worse, you will overcook the whole thing trying to get the centres done, and it will turn mushy.
30 minutes. Set a timer. Do something else. It’s worth it.
Step 3: Get the Water Ratio Right
Undoubtedly, this is crucial, and it differs from other types of rice.
For Japanese short-grain rice, you need a ratio of about 1:1 to 1:1.2 (rice to water). So, if you cook 1 cup of rice, use 1 to 1.2 cups of water. Not 2 cups. Not 1.5 cups. Somewhere between 1 and 1.2.
Why the range?
It depends on how you like your rice. A 1:1 ratio gives you firmer, more distinct grains (good for sushi). Conversely, a 1:1.2 ratio gives you slightly softer, stickier rice (good for rice bowls). Find your preference.
Whatever you do, don’t use the ratio you’d use for long-grain rice (usually 1:2). Japanese rice needs less water because of its higher starch content. Too much water means you will end up with rice porridge. Trust the ratio. It works.
Step 4: Cook It Right (And Don’t Lift the Lid)
Now, here is how you cook it:
Put your soaked, drained rice in a pot and add your measured water.
Bring it to a boil over medium-high heat. No lid yet.
Once it boils, reduce the heat to the lowest setting. Now, put the lid on.
Let it simmer gently for 12-15 minutes. Set a timer.
DO NOT LIFT THE LID. Seriously. Don’t check on it. Don’t peek. Leave it alone.
Why?
Because you aren’t just boiling rice; you are steaming it. The steam trapped under that lid does crucial work. Every time you lift the lid, you release steam and drop the temperature. As a result, your rice won’t cook properly.
After 12-15 minutes, turn off the heat. Keep the lid on. Let it sit for another 10 minutes.
This resting period is essential. The rice still cooks in its own residual heat and steam. During this time, the moisture redistributes and the texture evens out. 10 minutes. Lid on. Walk away.
Step 5: Fluff It Properly
Finally, after your rice rests, you must fluff it.
But here’s the trick: you shouldn’t stir it. You must fold it.
Use a rice paddle if you have one, or a wooden spoon if you don’t. Gently fold the rice from the bottom of the pot to the top. Use gentle, lifting motions. Turn the rice over onto itself.
Essentially, this action releases excess moisture (as steam) and separates the grains without mashing them. If you stir it aggressively, you will break the grains and make the batch gluey. Fold, don’t stir. Take your time.
After a minute or so of gentle folding, your rice should look fluffy, glossy, and perfect.
The Pro Tip (Optional But Game-Changing)
Furthermore, here is something we picked up over the years that genuinely makes a difference:
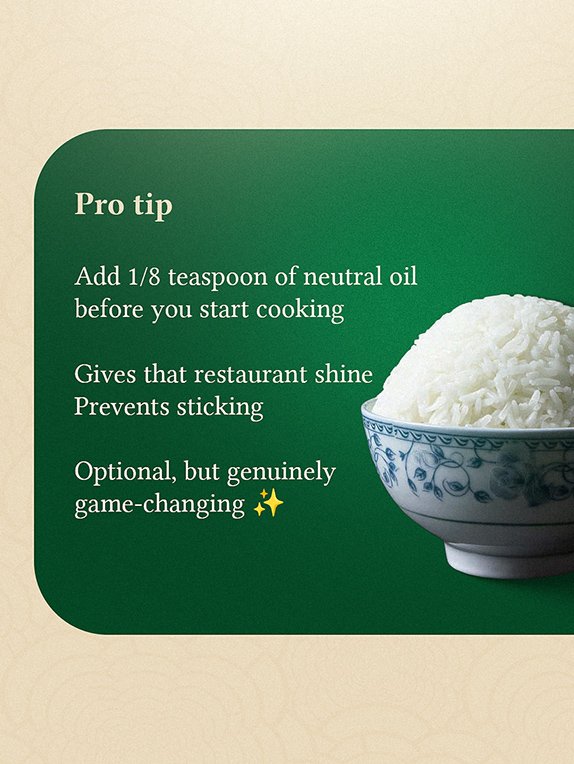
Before you start cooking, add about 1/8 of a teaspoon of neutral oil to your rice and water. Vegetable oil, rice bran oil, or any flavourless oil works perfectly.
This addition does two things:
It gives the rice a subtle shine — that glossy, restaurant-quality look.
It prevents the rice from sticking to the pot and to itself.
Of course, this is completely optional. Your rice will still taste good without it. But if you want that extra polish (literally), try it. Just use a tiny bit so you can’t taste it.
The Pro Tip (Optional But Game-Changing)
Furthermore, here is something we picked up over the years that genuinely makes a difference:
Before you start cooking, add about 1/8 of a teaspoon of neutral oil to your rice and water. Vegetable oil, rice bran oil, or any flavourless oil works perfectly.
This addition does two things:
It gives the rice a subtle shine — that glossy, restaurant-quality look.
It prevents the rice from sticking to the pot and to itself.
Of course, this is completely optional. Your rice will still taste good without it. But if you want that extra polish (literally), try it. Just use a tiny bit so you can’t taste it.
Common Mistakes (And How to Avoid Them)
To summarize, let’s recap what NOT to do:
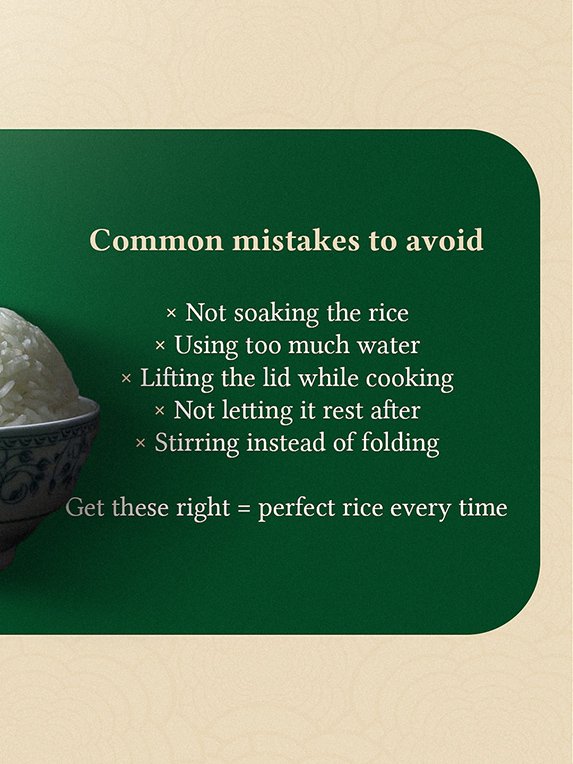
Skipping the soak: This is the biggest mistake. Don’t skip it. It’s not optional.
Using too much water: Japanese rice needs less water than you think. Stick to the 1:1 to 1:1.2 ratio.
Lifting the lid while cooking: Every time you lift that lid, you sabotage your rice. Leave it alone.
Not letting it rest after cooking: That 10-minute rest period isn’t negotiable. The rice still cooks during this time.
Stirring instead of folding: When you fluff the rice, be gentle. You want to separate the grains, not mash them.
If you get these things right, you will cook consistently good rice. Every time.
Common Mistakes (And How to Avoid Them)
To summarize, let’s recap what NOT to do:
Skipping the soak: This is the biggest mistake. Don’t skip it. It’s not optional.
Using too much water: Japanese rice needs less water than you think. Stick to the 1:1 to 1:1.2 ratio.
Lifting the lid while cooking: Every time you lift that lid, you sabotage your rice. Leave it alone.
Not letting it rest after cooking: That 10-minute rest period isn’t negotiable. The rice still cooks during this time.
Stirring instead of folding: When you fluff the rice, be gentle. You want to separate the grains, not mash them.
If you get these things right, you will cook consistently good rice. Every time.
Why This Matters
Rice forms the foundation of so many meals. Especially in Japanese cuisine, rice isn’t just a side dish or filler. It’s central. We respect it. It often makes or breaks a meal.
When you put care into cooking rice properly, everything else on the plate tastes better. The textures work together. The flavours balance. Ultimately, it’s not just about the rice tasting “good” — it’s about the rice doing its job in the context of the whole meal.
That’s why technique matters. That’s why these small steps add up. Perfect rice isn’t magic, and it isn’t luck. You just need to understand what you’re doing and why.
And now, you do!
Give It a Try
Next time you cook rice, try this method. Follow the steps. Take your time. See what happens.
If it doesn’t work perfectly the first time, that’s okay. Cooking rice takes practice. Every pot behaves slightly differently, every stove heats differently, and every environment has different humidity. You will get the feel for it.
But once you do? Once you nail it? You will never go back to your old method.
Save this guide. Bookmark it. Come back to it when you need a refresher. And if you’d rather let someone else handle the cooking, well — you know where to find us 💚
Arigatou gozaimasu
The Midori Team
P.S. If you try this at home, let us know how it goes! We’d love to hear from you. Also, if you have your own rice tips that work for you, share them — we’re always learning too.
📱 Mobile (Text or Call): +61 480 416 307